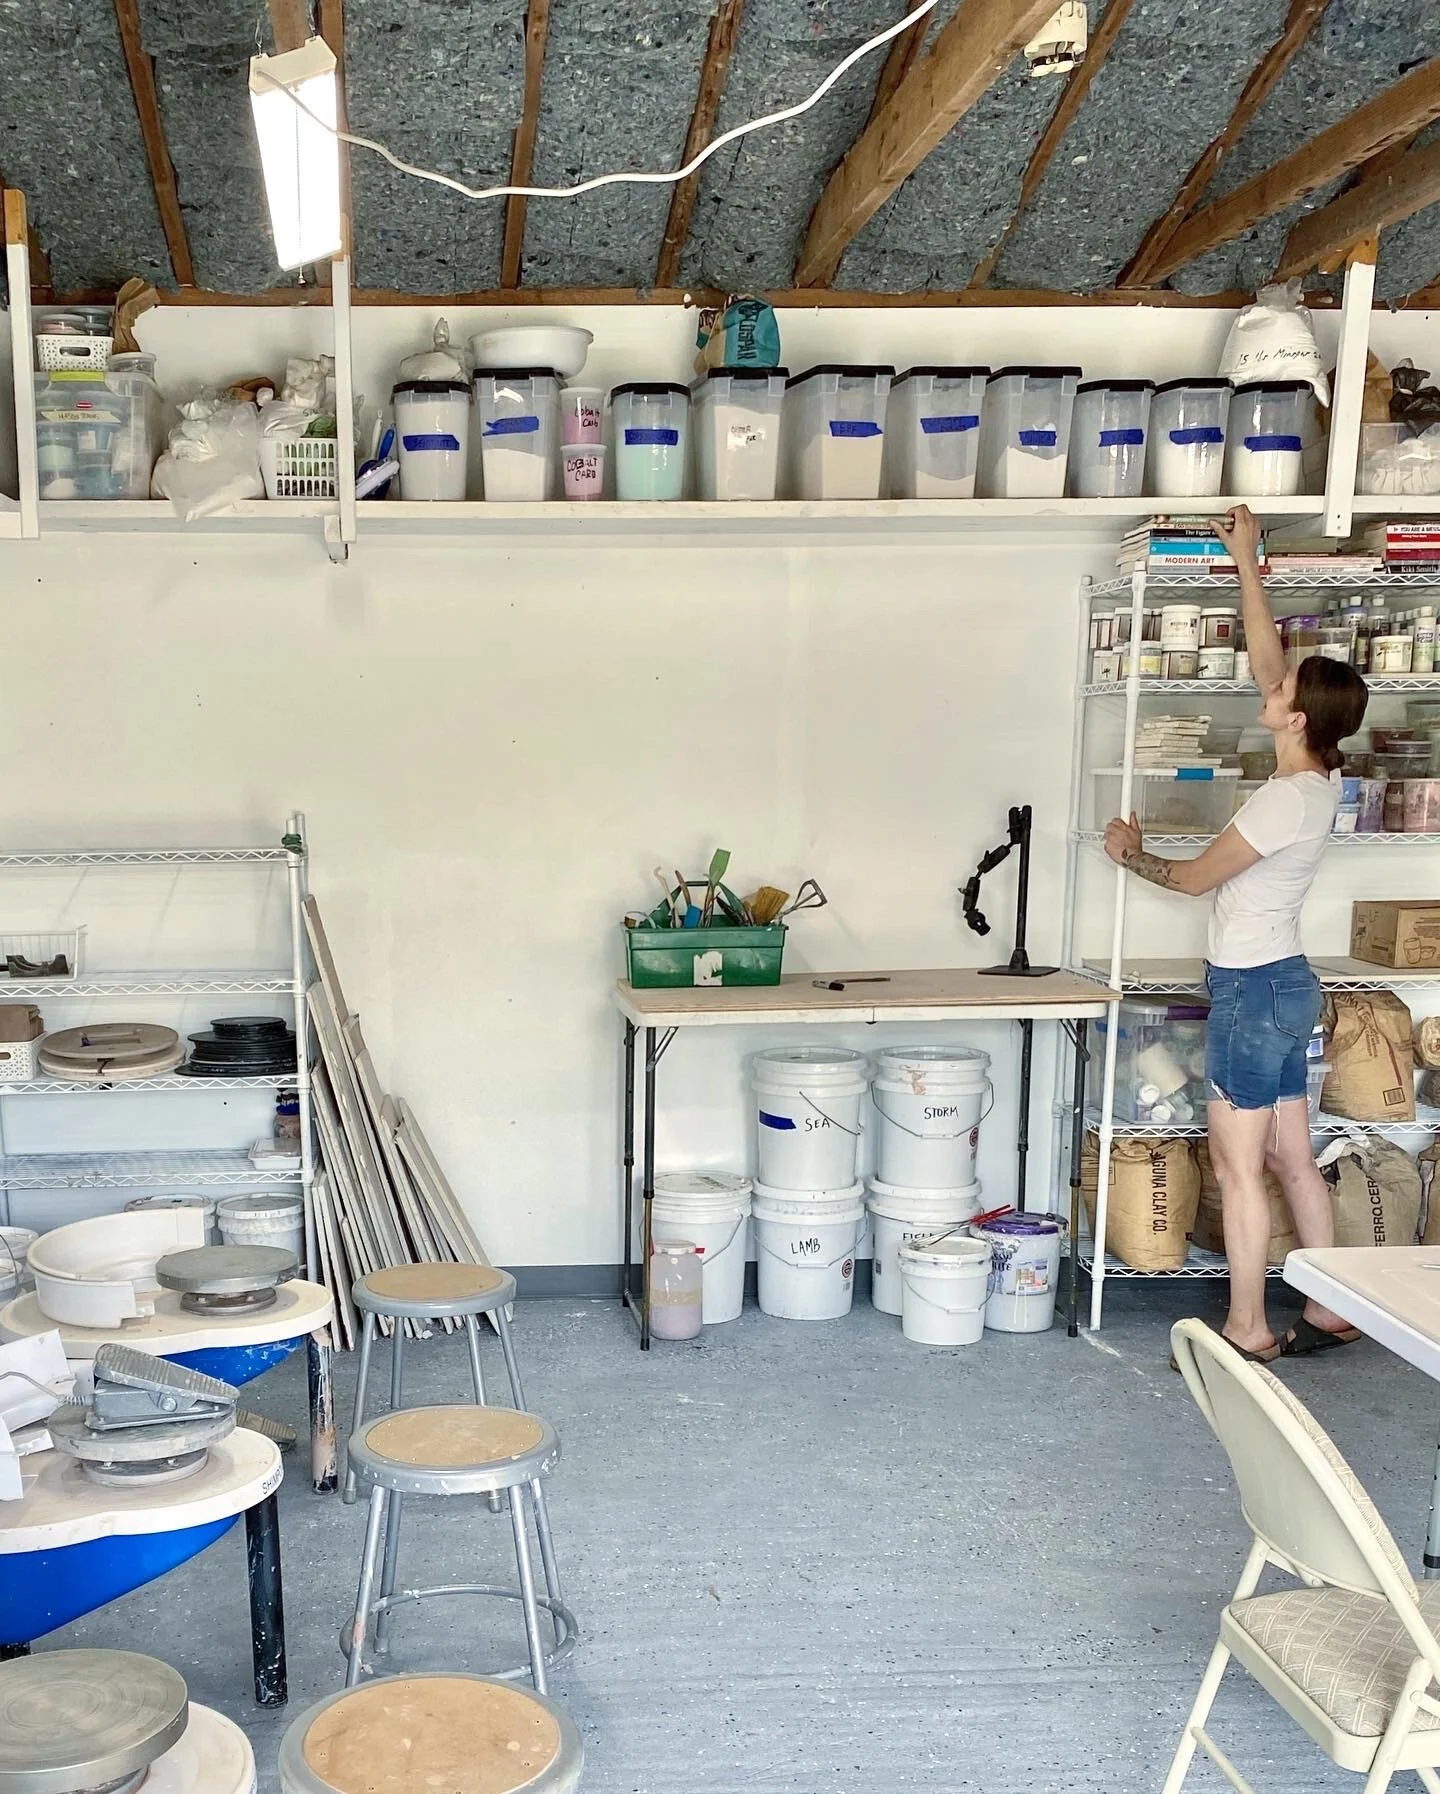
Welcome to our Studio in the Mountains!
Welcome to our dream - a studio in the mountains. Check out what we’ve accomplished over the last few months and get some insight into what we’re working on next.
Nicole organizing our book collection
Living Green:
We’ve got big dreams planned for this space. One of our firsts was to run as fully green as we possibly could. Our first step towards that reality came earlier this year as we converted our property to run on green energy harnessed from solar power. Our next phase will be adding plumbing that will make the collection and use of rain water much easier than just leaving buckets outside.
Nicole power washing the floors to prepare for their epoxy finish
A look at our wheel throwing area
Opening:
We had hoped to open our doors this summer but our timeline got a little jumbled because of the restrictions and uncertainty of covid-19. In order to stay safe and help reduce the spread, we will be closed to the public for the time being.
I can’t tell you how much I am looking forward to inviting the community to participate in classes, workshops and other experiences with us in the future. Until then it’ll just be me working around the clock to produce work, continue to build the dream and taking you on the journey.
After months of hard work and loads of elbow grease I am so excited to share with you our new studio and how we turned this old garage into a creative sanctuary.
Converting the space into a studio wasn’t as simple as flipping a switch but after a lot of research, failures and obviously way more successes we are finally on our way to seeing a more completed space. Keep reading to see our progress and get a little insight into what is next.
Our first official day with solar energy
Elbow Grease:
What I could manage on my own, I did, which included epoxying the floor, painting and adding baseboards to the walls. Some of the things I learned along the way - I’m really bad at taping & finishing drywall, I love a power washer and gosh, all of this so very tiring.
The walls & floor are finished
Next Steps:
It feels like we’ve done so much already but there are still lots of things to work on. We’re redoing the garage doors, building a wedging table, finding a better method to collect rain water, installing gutters, adding more shelves, figuring out how to heat this space. And those are just some of the bigger projects on the list. Who knows what else will be added to the list as we move forward…
The day after all of our things were moved upstate from Brooklyn
Goodbye to Brooklyn!
A good bye letter to our Brooklyn studio.
If all went according to plan in August of 2020 we would have celebrated our Brooklyn studio’s 3 year anniversary. Like many things in life, we were moved off course and are now on a different path. As I watched the progression of Covid-19 and how the government decided to handle things I remained relatively quiet. Each day held a new fact or restriction and the only way to describe it was like riding a rollercoaster (though, I’ve never actually ridden one and don’t intend to). As a small business owner and semi control freak, I had never expected to be confronted with such a scary and ominous situation like a pandemic.
Like many I didn’t believe Covid-19 to be more than a slightly crazier flu, until that is in mid March when NYC started its quarantine and as a result so did our studio. After some research we allowed for limited access to the space but even with this offering the studio sat pretty much empty - we were all scared. Things were changing so quickly and our daily plan soon became an hourly one with no actual end date in sight. As I crunched the numbers, applied for disaster relief (very little has been received) and spent hours in bed with swollen eyes from crying, I came face to face with the hard truth - I could no longer handle the financial, emotional or physical responsibility of running this space, especially when I lived 2 hours away. So, I decided after all my journaling that it was time to end our Brooklyn chapter.
Now, before we get into that, let’s rewind for a second with a little history lesson. This studio didn’t start as a business - it started as a safe place for my craft. Though, I don’t typically speak publicly about my personal history, I feel as our Brooklyn chapter comes to close I should be a little more candid about how it began. In 2017, I was barely crawling my way out of a very traumatic event. It was an event followed by incidences that shattered a lot of friendships, put me in a deep depression and fractured the way I viewed myself. My once home was no longer a safe place so I decided to move with my partner to a new apartment, which eventually brought me to this studio which was located right below. The studio which was intended solely for my craft, organically grew into a community space - first hosting friends, then classes and then providing memberships. It became for some a second home, therapy, a new career, an adventure, etc. And to be honest even though it took me some time to see it, the studio did all those things and more for me. It allowed me to start healing, made me a small business owner, made me a student, taught me boundaries and how to trust myself and others, taught me how to be patient and humble, and to accept all the things I can’t control.
In mid 2019 I set off on another adventure with my partner to Mountaindale, NY located in the lower Catskills to work on the next chapter of our dream. With that move I left the Brooklyn studio in the hands of others and took a step back. In retrospect these months away felt like a slow move away from the person trapped in a cycle of triggers stemming from trauma. As I walk in the woods I feel like my true self (not my old self as I don’t want to be and honestly can never be that person again). I am excited for my new studio to open and to provide a new space for learning, growing and experiencing pottery. Realizing things like this made the decision to close my Brooklyn chapter incredibly easy. Now, closing the studio to the community of folks who loved that space, that was a very difficult and sad one. In the end though, I may be closing my chapter but this Brooklyn studio, like me was saved by its members. It will live on under a new name (Centerpoint Ceramics Studio) and manager.
So as we all find our new paths, I want to thank the Universe for bringing this space to me when I needed it the most and allowing for it to grow with such beauty. Thank you to every person who passed through the studio for classes, open studio, a visit and to every member who added their flare & love to this community. Thank you to the folks who taught and teched at the studio (Alexis, Mathilde, Liam, Ellen, Jen).
Most of all - Thank you to my partner, my family, and my dear friends for being my support system. Off to Mountaindale we go!
Purchasing a Used Kiln - what to ask and look for
A little how to guide to purchasing a used kiln. What to look for, what to ask, and how to figure out if this used kiln is for you.
Kilns are essential to running a studio but typically come with a hefty price tag, so naturally I started scouring the internet for other options when building out our Catskills’ Studio. If you are a Tri State area (NY, CT, PA) potter you know that good used kilns and pottery equipment don’t pop up very often or for very long so I jumped on the chance when one presented itself. It was a bit of a risk as I’ve actually never purchased a used kiln before and had limited knowledge in how to inspect one. Now that I’ve lived with our used kiln for a little over 3 months I’d like to impart what I’ve learned in the process. I will say that used kilns are great for people who are more handy as you’re probably going to need to fix it up a bit.
Okay, so you’re to searching for a used kiln - Great!
First you need to decide what kind of kiln you are looking for - brand, type (electric, gas, etc), cone (temp the kiln can reach - make sure your studio has the right electric) and size. Then figure out how long you have to get a kiln up and running. For me, I was looking for an electric Skutt kiln around the size of a KM 1027 that could reach cone 5 / 6. Luckily for me I found a KM 1227 that could be converted to a 240 volt, which would allow me to fire to cone 6. It did however take a lot longer to get this kiln up and running than I had allotted for this studio.
Ask the right questions:
How old is the kiln?
What type of controller does it have?
How old are the elements, thermocouple and relays (a good kiln owner will have a list of these things)?
What has been fired in the kiln (is it typically low fired/high fired, lead glazes)?
When was it last fired?
What is included in this purchase (kiln furniture, vent)?
When inspecting a used kiln:
Plug it in to make sure it turns on.
Check out the exterior: there should be a name plate that tells you about the kiln, are there any burn marks on the metal, rust, things falling off?
How does the interior look - crumbling bricks (look at the walls, bottom and top), glaze stuck to everything?
Bring tools! Unplug the kiln and open the computer and inspecting the parts including pulling out the insulation to check on the relays etc - are all of the wires intact, is nothing melted, or burn marks?
All of this inspection will help you to determine what repairs need to be done vs how much you are paying for the kiln vs how much time it’ll take to get your kiln working. This is not a fast process and shouldn’t be rushed as used kilns can become money pits especially for someone who is hiring another to fix it all. Whatever kiln you decide on, spend time researching the price of replacement parts prior to seeing the kiln. You’ll have a much better chance of avoiding a lemon if you do.
Did I miss anything? Add your thoughts to the comments below.